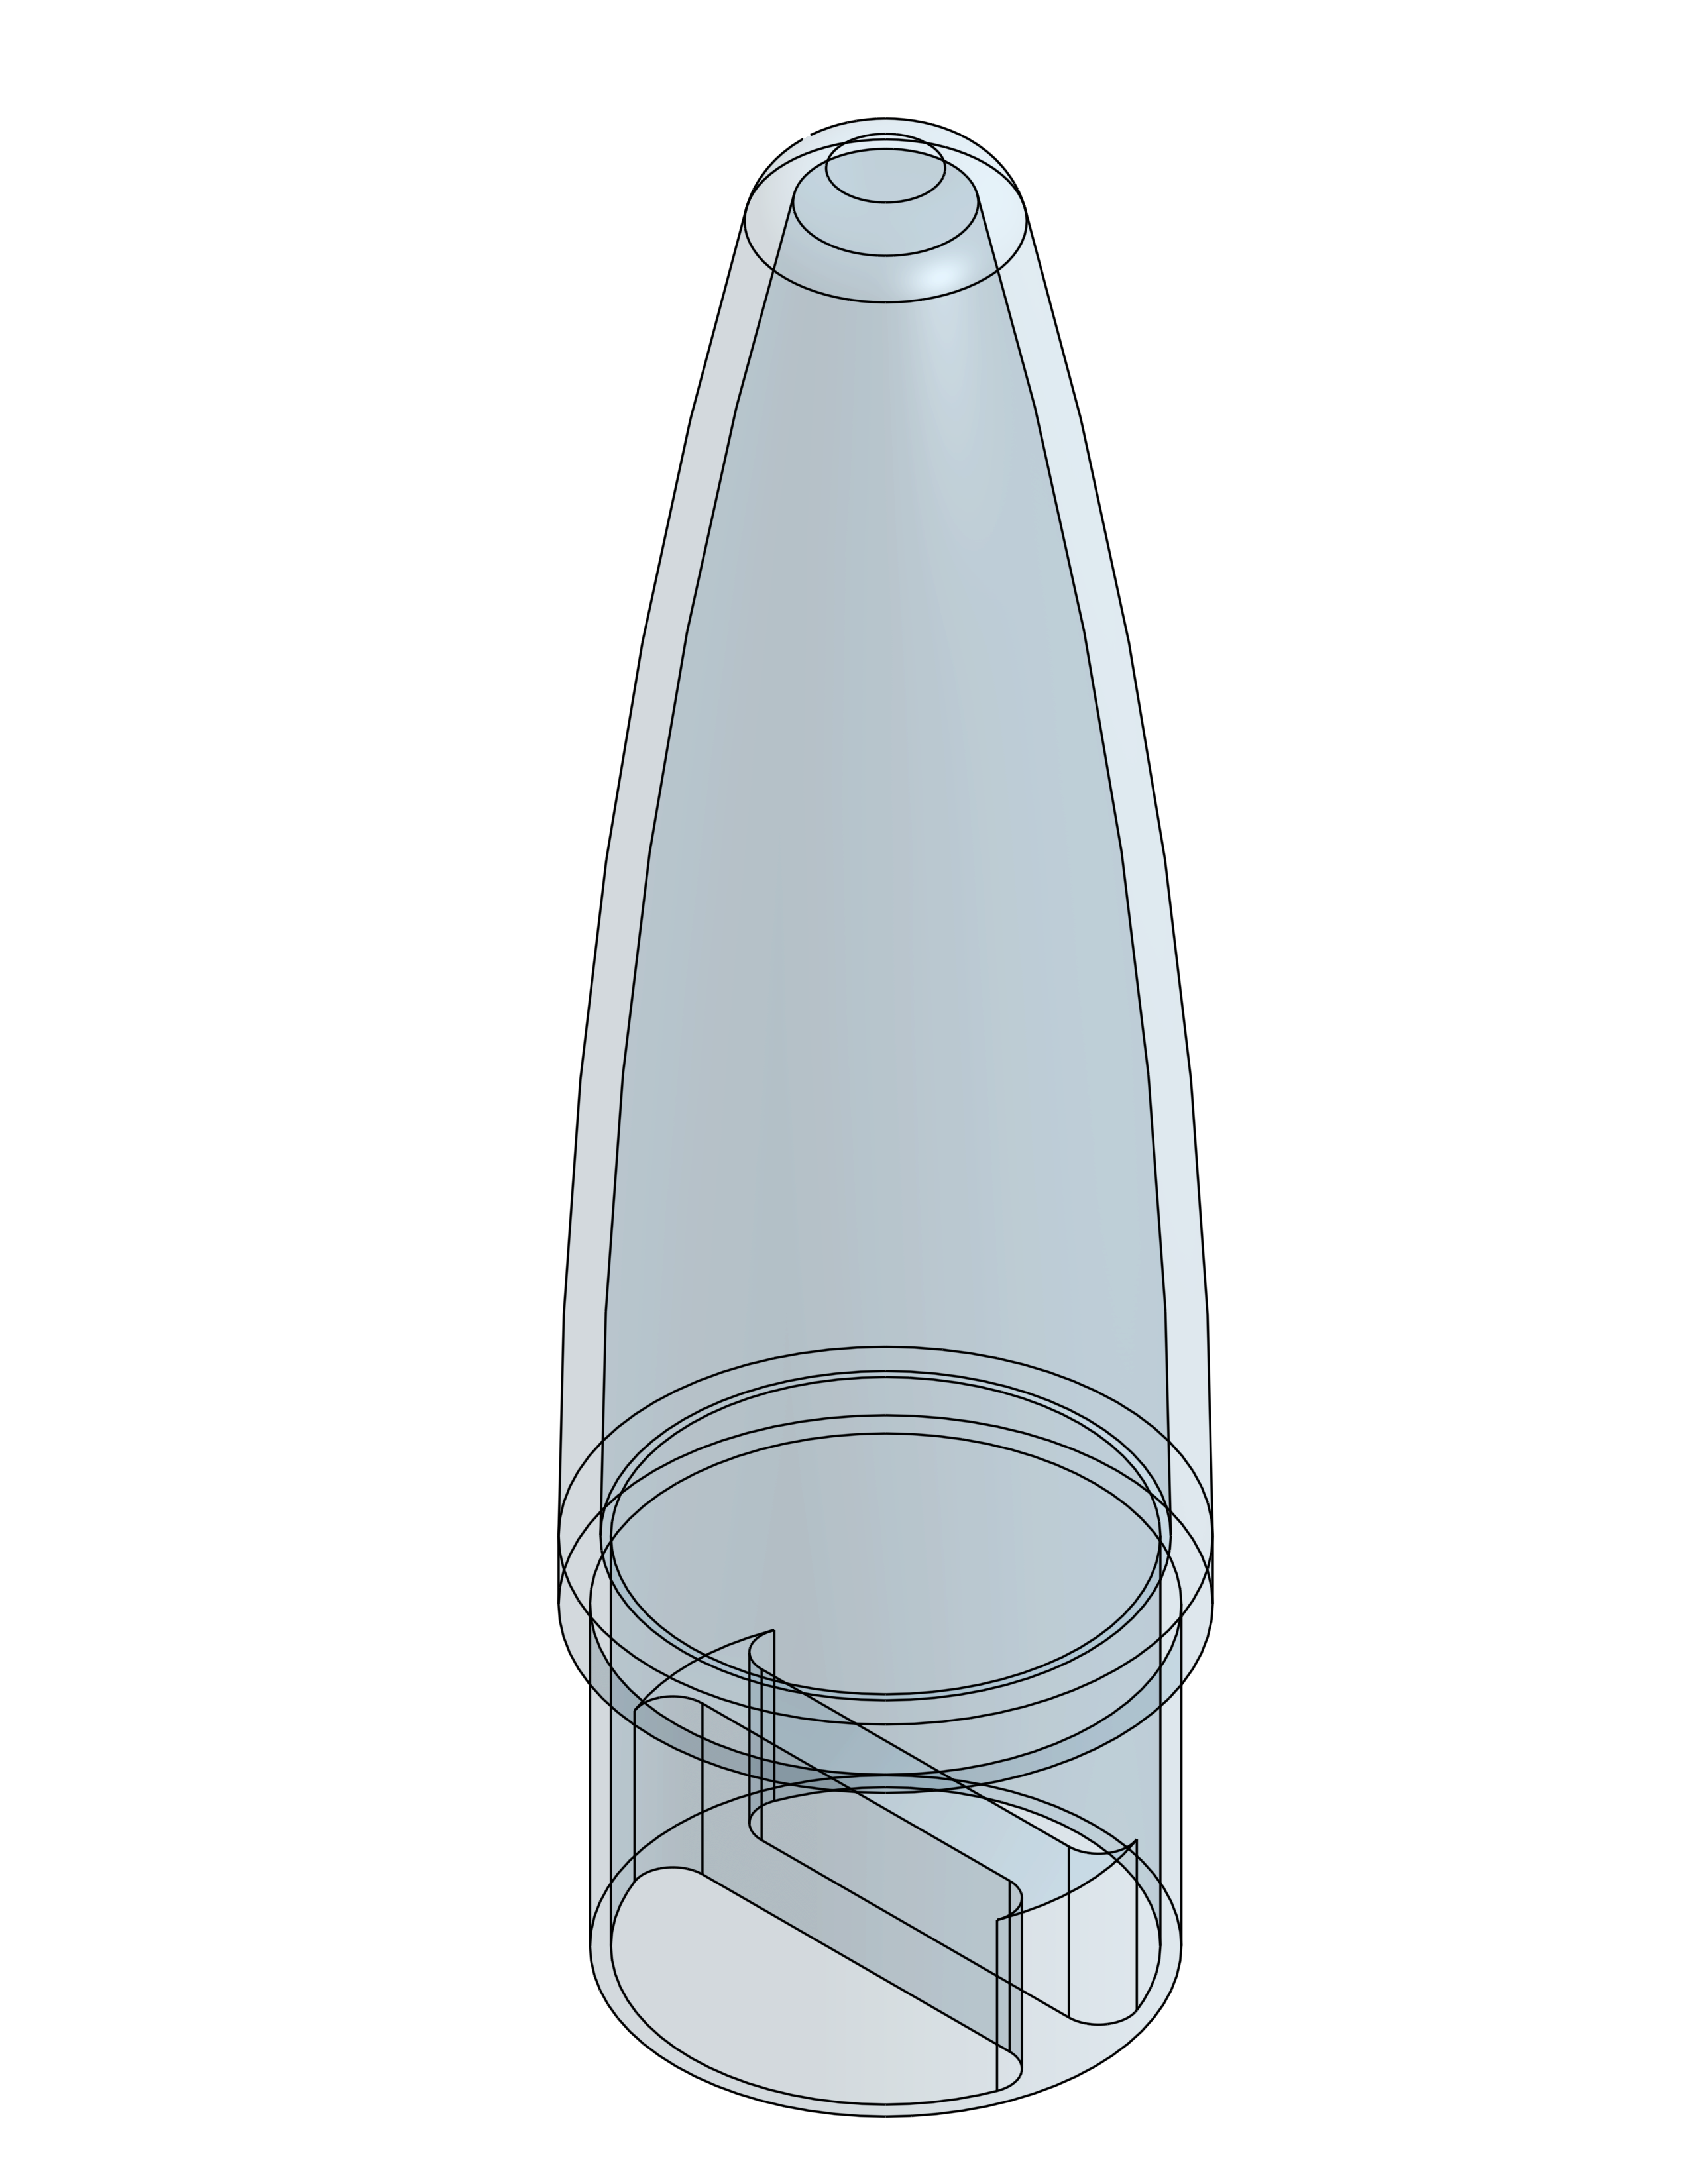
Nosecone Tutorial
Previous
Page:
1
|
2
|
3
|
Next
9.
Start a sketch for the string bridge on your tube
- Select the sketch tool

- Click the bottom face of your tube to start sketching on that face
- Right click and select View normal to sketch plane to line up your view
10.
Start to draw the string bridge
- Select the Use (Project/Convert) tool

- Click on the inner circle
- That line will bold, as it becomes part of your sketch
11.
Draw the bridge
- Select the Line tool

- Click on the left side of the inner circle
- Click on the right side of the inner circle
- Right click and select escape line
- Repeat to draw a second line below the first
12.
Dimension the bridge
- Select the dimension tool

- Click the first line, then the second
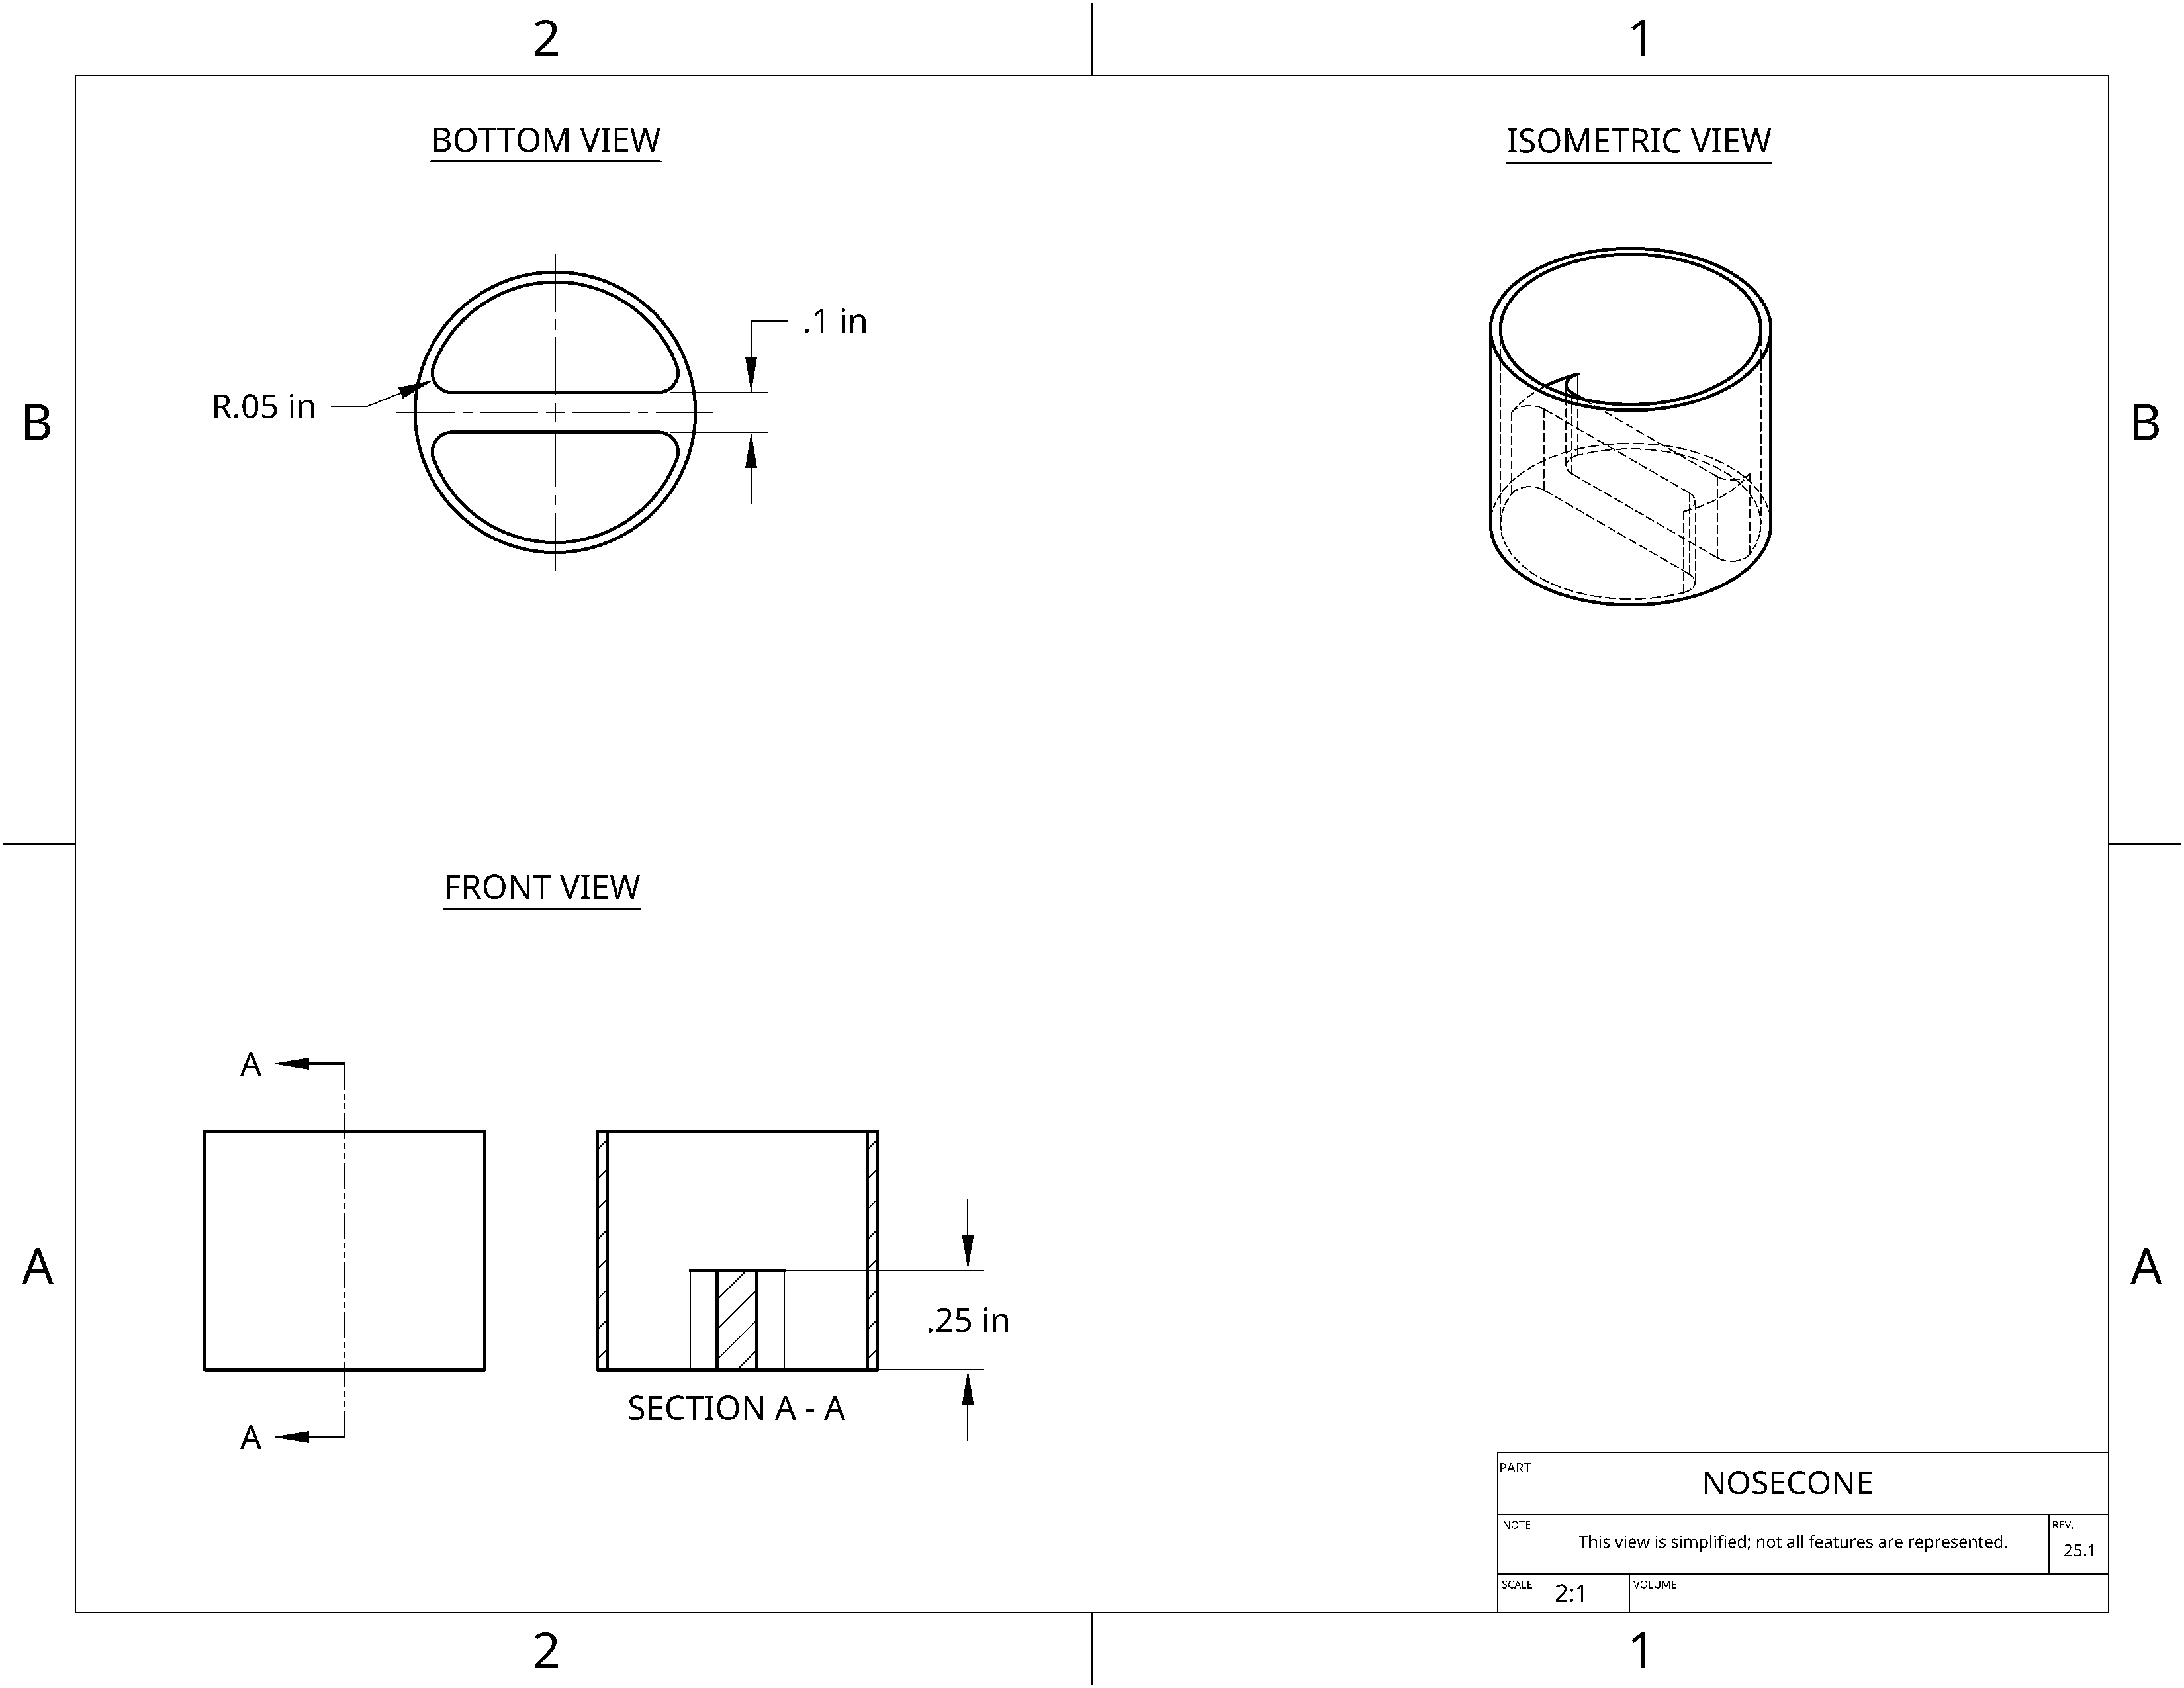
- Set the dimension to 0.1
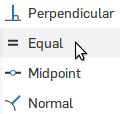
- Select the Equal tool


- Click on each line to make their lengths' equal
- Did you notice how the lines turned black? »
- Black lines mean, “fully defined,” which means that you have told Onshape exactly where the line is.
- If a line is blue, it means that there are still things to be constrained or dimensioned.
13.
Finish the sketch
- Select the "Trim" tool

- Select the part of the circle outside the lines
- Click the green check to finish the sketch

14.
Extrude the bridge
- Select the extrude tool

- Click on "Sketch 2"

- Click on Add to add to your part instead of creating a new part
- Set the Depth to 0.25 in
- Click the "Opposite direction" button
 to make the bridge go inside your tube
- Click the green check

15.
Strengthen the bridge with fillets
- What is a fillet? »
- Fillet: “a rounding of an interior or exterior corner of a part design.”
- Select the "fillet" tool

- Set the radius to 0.05
- Click the 4 edges of your bridge
- Click the green check

Nosecone Tutorial
Previous
Page:
1
|
2
|
3
|
Next


 to make the bridge go inside your tube


